
Use an AI photo enhancer to compare the original and 2× output at the same viewing size. Inspect eyes, hair and text: image enhancement can invent details instead of recovering the exact original.
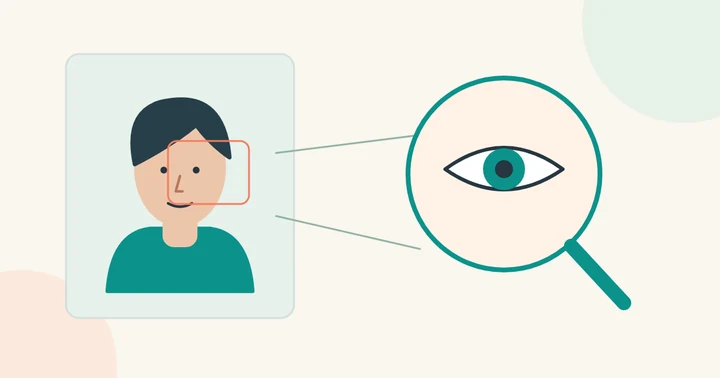
Enhance a completed face-swap photo
Open a saved photo result or find it in your account history, then select Enhance photo (2×) . The original stays available. Each input side must be at most 2048 pixels; processing may take several minutes. You can close the dialog and return to the export later.
Compare the original and enhanced versions at full size before downloading. Enhancement can change fine texture across the photo, including other people, hair and clothes. It does not replace a head or fix the wrong identity. Both versions expire with the original result, so download before that time. This option is for saved photos, not videos or GIFs.
Find the best original before enlarging
Look for the original camera file or highest-quality export. A screenshot of a small social-media image usually has less usable detail than the original. Cropping away unnecessary background can make a face easier to inspect, but it does not increase the detail already recorded.
If the eyes are only a few pixels wide, an enhancement tool may invent plausible eyelashes or eye shapes. Those details may look crisp while drifting from the person's identity. Keep the unenhanced original for comparison.
Choose the order of your edits
For a face swap, first try a clear source portrait and target scene at their available resolution. If your final layout needs a larger image, evaluate an upscale of the completed result separately. Repeated upscaling and recompression can amplify halos, skin texture artifacts and unnatural edges.
Judge the output at the intended display size. A small profile picture and a large print have different requirements; increasing dimensions alone does not make a file print-ready.
Inspect detail without rewarding artificial sharpness
Check hair, eyebrows, eyes, teeth and textured clothing. Look for repeated patterns, oversharpened outlines or a face that is much sharper than the rest of the scene. Compare both versions side by side rather than relying on the enlarged result alone.
For face-swap problems caused by angle or occlusion, use the quality guide. An upscaler will not reliably repair an incorrect face assignment or a hand covering the mouth.